Here is how to create a non-trusted reconciliation by using Oracle Identity Manager (OIM) 11.2.0.0 (11gR2) and Oracle Identity Directory (OID) 11.1.1.6.
Step 1: Download Connector

Oracle tend to be create, mature, then certify connectors to be used in future releases in OIM. The connectors can be downloaded from THIS following link. You need to locate the latest version the OID connection, as highlighted within the screenshot.
Step 2: Copy OID Directory OIM Directory
You will need to download, extract and place the connector into the ConnectorDefaultDirectory directory
[oracle@localhost ConnectorDefaultDirectory]$ pwd
/home/oracle/Oracle/Middleware/Oracle_IDM1/server/ConnectorDefaultDirectory
[oracle@localhost ConnectorDefaultDirectory]$ cp -R /home/oracle/Desktop/OID-11.1.1.5.0/ ./
[oracle@localhost ConnectorDefaultDirectory]$ ls
ConnectorConfigTemplate.xml ConnectorSchema.xsd OID-11.1.1.5.0 readme.txt targetsystems-lib
Step 3: Manage Connection
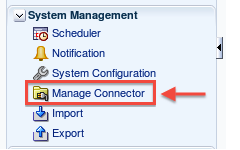
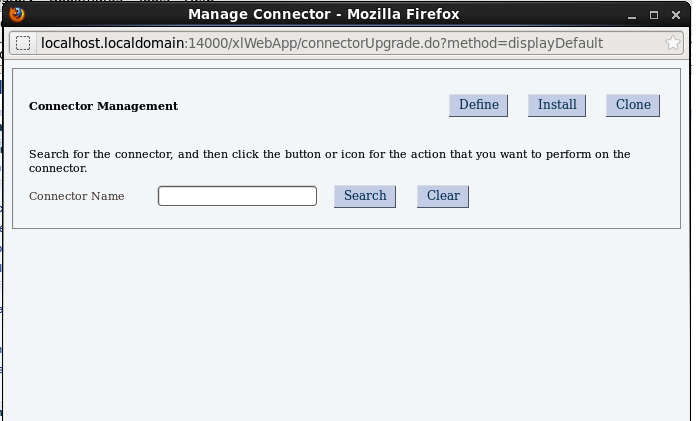
Now log into OIM via the 'sysadm' URL (http://localhost.localdomain:14000/sysadmin) and click on the 'Managed Connector'. A new windows will pop up. You will then click Install
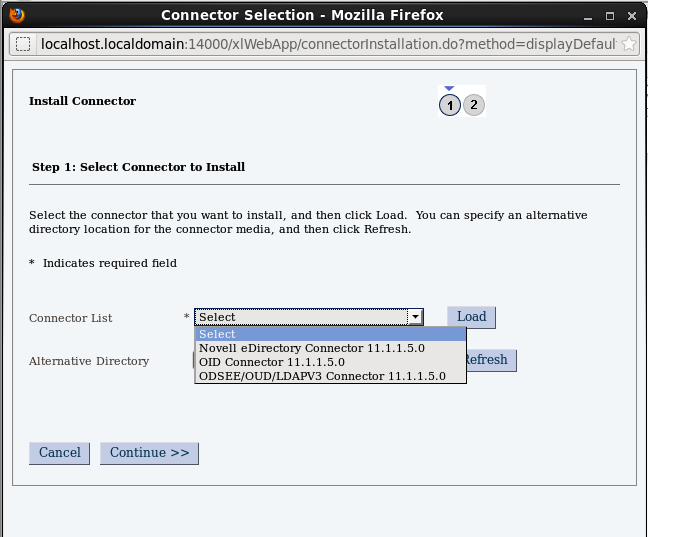
A new screen will appear. From the drop down, select the OID connector then click load
It will take about 1 minute, though you will receive a 'connection deployment successful' if you're successful.
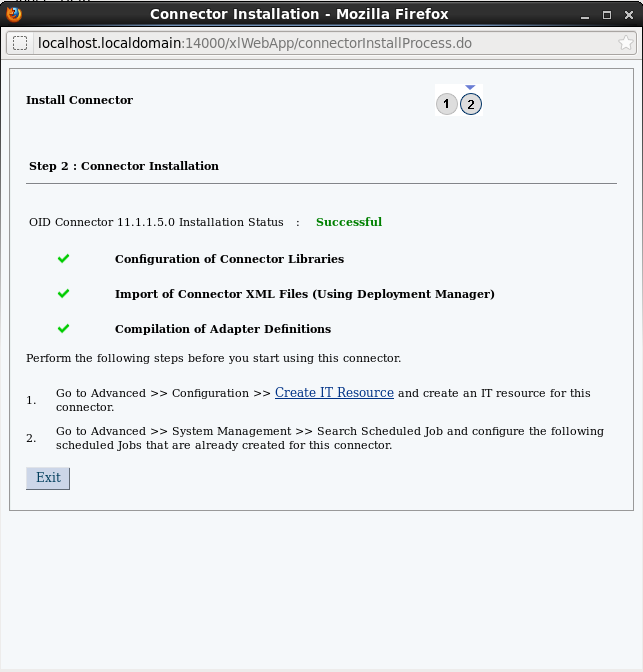
You now have an option to Create IT Resource.
The Steps are as follows:
Step 1: Add the IT Resource Name and Type
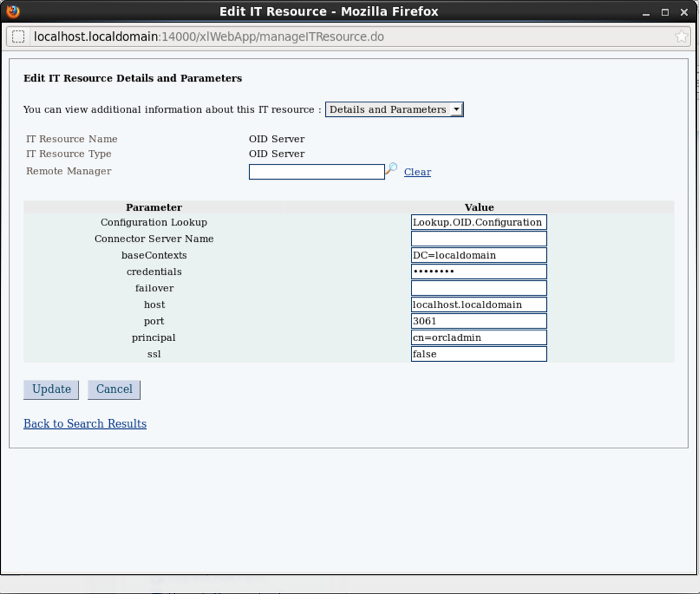
Step 2: Specify the IT Resource Parameter values with the following settings:
- Configuration Lookup = Lookup.OID.Configuration
- Connection Server Name = Leave Blank
- baseContexts = DC-localdomain
- credentials = ****** Password of the orcladmin
- failover = Leave Blank
- host = localhost.localdomain
- port = 3061
- principal = cn=orcladmin
- ssl = false
Step 4: Verify that the IT Resource Details are correct
When yet another new screen appears, click on the OID Server.
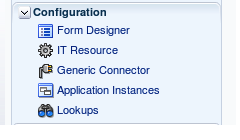
Close the window. Next thing to do if click on Manage IT resource A new window will appear. Once is does, click search
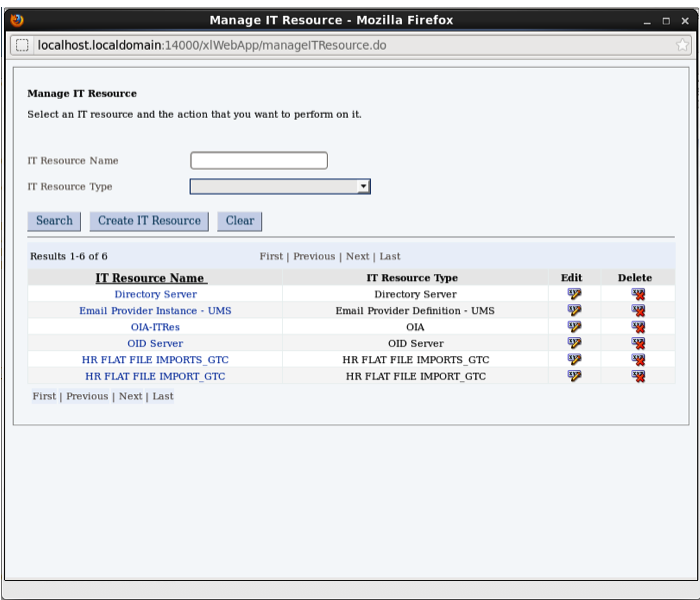
You will notice that 'OID Server' is available. Click on the name where you can define the parameters to connect to the OID environment.
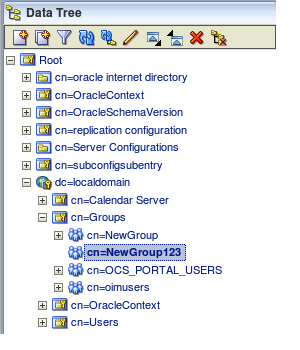
The next task is to import the number of groups and OU's from OID to OIM. You can test this by creating a new group in OID with the intention on importing this into OIM.
To start the scheduling, you need to go to the sysadmin URL as mentioned before and click on the Schedule icon to open up a new window.
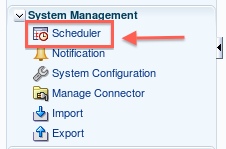
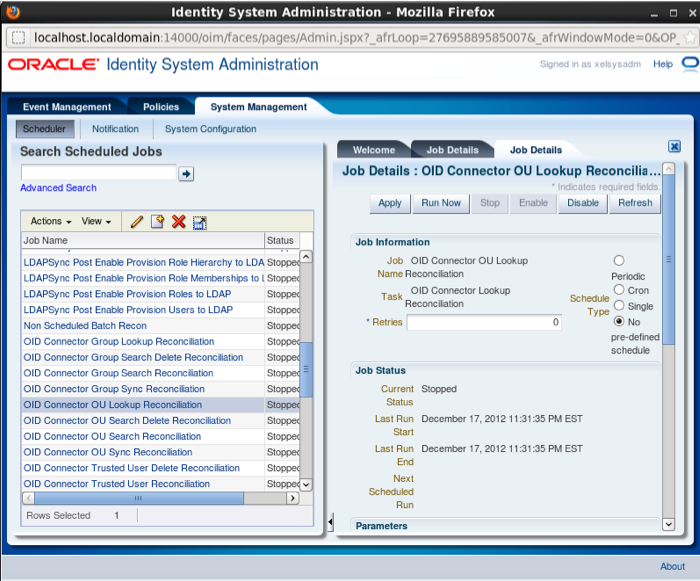
To start the scheduling, click on teh System Management tab at the top then click the search button next to the textfield.
There will be a load of jobs available though for this purpose, you will need to find the OID Connector Group Lookup Reconciliation Click Run now to start the schedule in a ad-hoc fashion.
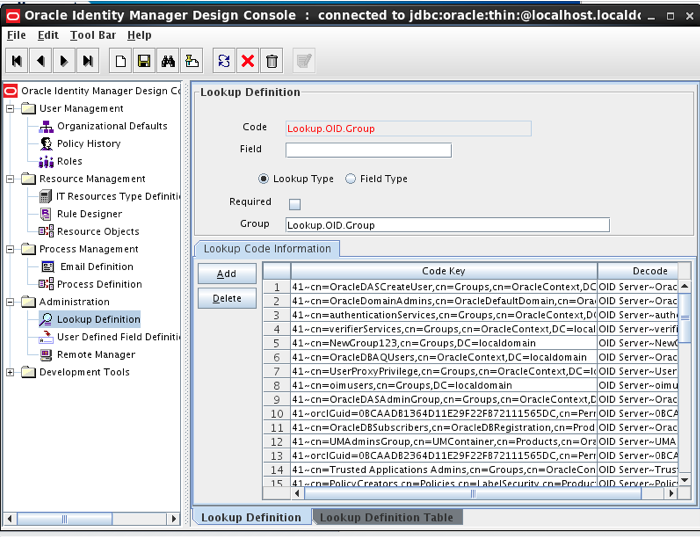
The best way to see the success within OIM is through the Design Console. To do this, Login into the console and on the right-hand side, click Lookup Definition
Note: This can be located in the Administration folder
When you search this, you will be able to see the newly created group from within the list. This completely reconcile all the groups, even if you remove these from OID and run the schedule again, the group will be removed.
About the author
 Daniel is a Technical Manager with over 10 years of consulting expertise in the Identity and Access Management space.
Daniel has built from scratch this blog as well as technicalconfessions.com
Follow Daniel on twitter @nervouswiggles
Comments
Other Posts
AS I was migrating my environment into an S3 environment, I wanted to leverage off the SES services that AWS provide, more specifically, to leverage the off the SMTP functionality by sending an email via PHP
Read More...
The WeMos D1 is a ESP8266 WiFi based board is an extension to the current out-of-the-box library that comes with the Arduino installation. Because of this, you need to import in the libraries as well as acknowledging the specific board. This process is highly confusion with a number of different individuals talking about a number of different ways to integrate.
Read More...
NameID element must be present as part of the Subject in the Response message, please enable it in the IDP configuration.
Read More...
For what I see, there's not too many supportive documentations out there that will demonstrate how provision AD group membership with the ICF connector using OpenIDM. The use of the special ldapGroups attribute is not explained anywhere in the Integrators guides to to the date of this blog. This quick blog identifies the tasks required to provision AD group membership from OpenIDM to AD using the LDAP ICF connector. However this doesn't really explain what ldapGroups actually does and there's no real worked example of how to go from an Assignment to ldapGroups to an assigned group in AD. I wrote up a wiki article for my own reference: AD group memberships automatically to users This is just my view, others may disagree, but I think the implementation experience could be improved with some more documentation and a more detailed example here.
Read More...
In the past, the similar error occurred though for the Oracle Identity Management solution. invalidcredentialexception remote framework key is invalid Because they all share the ICF connector framework, the error/solution would be the same.
Read More...
org.forgerock.script.exception.ScriptCompilationException: missing ; before statement
Read More...
ForgeRock IDM - org.forgerock.script.exception.ScriptCompilationException: missing ; before statement
Read More...
When performing the attempt of a reconciliation from ForgeRock IDM to Active Directory, I would get the following error
Read More...
In the past, the similar error occurred though for the Oracle Identity Management solution. invalidcredentialexception remote framework key is invalid Because they all share the ICF connector framework, the error/solution would be the same.
Read More...
During the reconcilation from OpenIDM to the ICF google apps connector, the following error response would occur. ERROR Caused by com.google.api.client.auth.oauth2.TokenResponseException 400 Bad Request - invalid_grant
Read More...

